共计 4568 个字符,预计需要花费 12 分钟才能阅读完成。
本篇文章给大家分享的是有关 RHEL6.3 如何实现基于加密的用户认证验证访问,丸趣 TV 小编觉得挺实用的,因此分享给大家学习,希望大家阅读完这篇文章后可以有所收获,话不多说,跟着丸趣 TV 小编一起来看看吧。
一、业务需求
Apache 需要实现加密的基于用户身份认证的验证访问,来保证特定站点页面的安全。这里是需求的实现过程,请看如下分解。
二、具体实现步骤:
1、建立主目录及网页
[root@test1 www]# mkdir virt1
[root@test1 www]# ls
cgi-bin error html icons manual virt1
[root@test1 www]# cd virt1
[root@test1 virt1]# echo welcomt to apache website index.html
[root@test1 virt1]# ls
index.html
[root@test1 virt1]# cat index.html
welcomt to apache website
2、使用 apache 自带的 htpasswd 工具生成密码文件来作为用户访问认证的来源
格式:htpasswd options FilePath user
-c:第一次创建时使用该选项
-m:将密码使用 MD5 加密存放
-D:从密码文件中删除用户
[root@test1 conf]# htpasswd -cm .htpasswd aaa
New password:
Re-type new password:
Adding password for user aaa
[root@test1 conf]# cat .htpasswd
aaa:$apr1$hhFTA/vU$GwUfNDRNGFGIyHWftqc2M1
[root@test1 conf]# htpasswd -m .htpasswd bbb
New password:
Re-type new password:
Adding password for user bbb
[root@test1 conf]# cat .htpasswd
aaa:$apr1$hhFTA/vU$GwUfNDRNGFGIyHWftqc2M1
bbb:$apr1$QHr2Dpff$wMtQI74PcbNOMrY0mPgpa0
[root@test1 conf]#
如果是要删除用户
#htpasswd -D .htpasswd aaa
3、对指定的网页目录使用基本身份认证验证
比如对 test1.demo.com 网站的访问需要基于用户认证验证
配置 apache 的主配置文件:/etc/httpd/conf/httpd.conf
NameVirtualHost 192.168.1.123:80
VirtualHost 192.168.1.123:80
DocumentRoot /var/www/virt1
ServerName test1.demo.com
ErrorLog logs/test1.demo.com-error.log
Directory /var/www/virt1
authName realm
AuthType basic
AuthUserFile /etc/httpd/conf/.htpasswd
Require User aaa bbb
/Directory
/VirtualHost
[root@test1 virt1]# service httpd restart
Stopping httpd: [ OK ]
Starting httpd: [ OK ]
4、加密配置
[root@test1 conf]# (umask 077;openssl genrsa -des3 -out server.key)
Generating RSA private key, 512 bit long modulus
….++++++++++++
….++++++++++++
e is 65537 (0x10001)
Enter pass phrase for server.key:
Verifying – Enter pass phrase for server.key:
[root@test1 conf]# openssl req -new -key server.key -out server.csr
Enter pass phrase for server.key:
You are about to be asked to enter information that will be incorporated
into your certificate request.
What you are about to enter is what is called a Distinguished Name or a DN.
There are quite a few fields but you can leave some blank
For some fields there will be a default value,
If you enter . , the field will be left blank.
—–
Country Name (2 letter code) [CN]:CN
State or Province Name (full name) []:
Locality Name (eg, city) [Beijing]:Beijing
Organization Name (eg, company) [Default Company Ltd]:Tianli
Organizational Unit Name (eg, section) []:
Common Name (eg, your name or your server s hostname) []:test1.demo.com
Email Address []:
Please enter the following extra attributes
to be sent with your certificate request
A challenge password []:
An optional company name []:
[root@test1 conf]# openssl ca -in server.csr -out server.crt
Using configuration from /etc/pki/tls/openssl.cnf
Enter pass phrase for /etc/pki/CA/private/my-ca.key:
Check that the request matches the signature
Signature ok
Certificate Details:
Serial Number: 3 (0x3)
Validity
Not Before: Jan 31 05:37:44 2013 GMT
Not After : Jan 31 05:37:44 2014 GMT
Subject:
countryName = CN
stateOrProvinceName = Hebei
organizationName = Default Company Ltd
commonName = test1.demo.com
X509v3 extensions:
X509v3 Basic Constraints:
CA:FALSE
Netscape Comment:
OpenSSL Generated Certificate
X509v3 Subject Key Identifier:
CB:3D:6E:BD:48:ED:BD:FE:39:BD:27:C5:B5:57:19:96:79:11:23:14
X509v3 Authority Key Identifier:
keyid:4C:45:25:5F:60:7F:F8:6E:6F:B4:53:C4:FB:BD:A3:C6:82:AE:2A:62
Certificate is to be certified until Jan 31 05:37:44 2014 GMT (365 days)
Sign the certificate? [y/n]:y
1 out of 1 certificate requests certified, commit? [y/n]y
Write out database with 1 new entries
Data Base Updated
将 httpd.conf 中的这一段复制放到 ssl.conf 中并修改和添加 SSL 认证语句
NameVirtualHost 192.168.1.123:443
VirtualHost 192.168.1.123:443
DocumentRoot /var/www/virt1
SSLEngine on
SSLCertificateFile /etc/httpd/conf/server.crt
SSLCertificateKeyFile /etc/httpd/conf/server.key
ServerName test1.demo.com
ErrorLog logs/test1.demo.com-error.log
Directory /var/www/virt1
authName realm
AuthType basic
AuthUserFile /etc/httpd/conf/.htpasswd
Require User aaa bbb
/Directory
/VirtualHost
注:需要将原 httpd.conf 文件中的这一段进行注释或屏蔽。
[root@test1 conf]# service httpd restart
Stopping httpd: [ OK ]
Starting httpd: [Thu Jan 31 01:29:41 2013] [warn] NameVirtualHost 192.168.1.123:80 has no VirtualHosts
Apache/2.2.15 mod_ssl/2.2.15 (Pass Phrase Dialog)
Some of your private key files are encrypted for security reasons.
In order to read them you have to provide the pass phrases.
Server test1.demo.com:443 (RSA)
Enter pass phrase:
OK: Pass Phrase Dialog successful.
[ OK ][root@test1 conf]#
三、测试
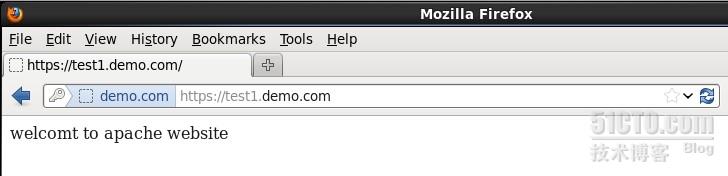
在 FIREFOX 中输入 https://test1.demo.com 进行浏览
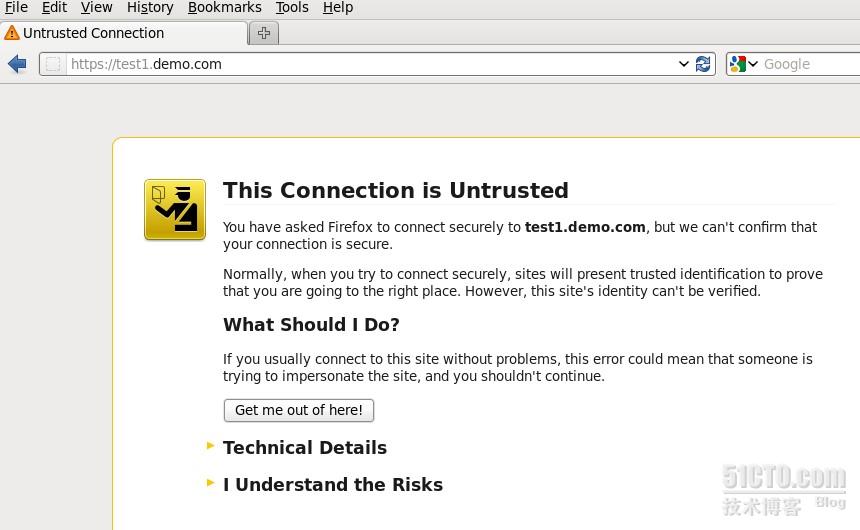
点击 I Understand the Risks
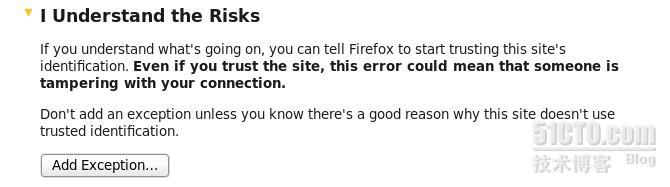
点击 Add Exception
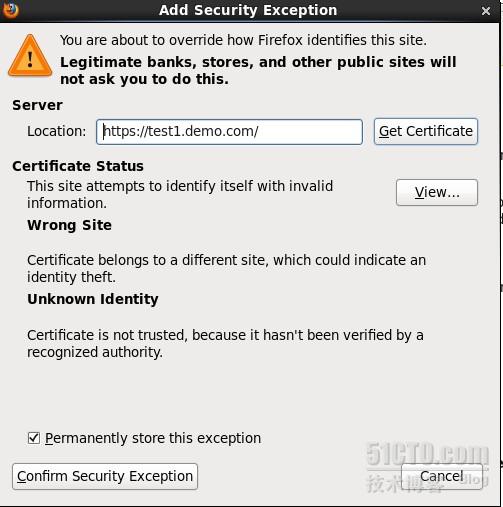
点击 Confirm Security Exception
输入用户名和密码
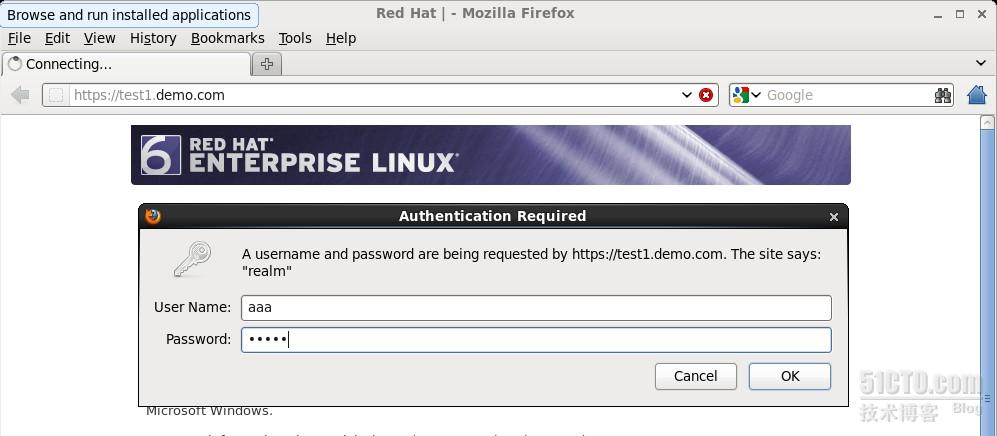
最后看到受保护页面内容
以上就是 RHEL6.3 如何实现基于加密的用户认证验证访问,丸趣 TV 小编相信有部分知识点可能是我们日常工作会见到或用到的。希望你能通过这篇文章学到更多知识。更多详情敬请关注丸趣 TV 行业资讯频道。


